
Ever wondered why your audio recordings sometimes sound harsh, distorted, or just entirely unpleasant? You might be dealing with a common problem in music production called clipping or peaking. In this guide to Gain Staging 101, we’ll break down what gain staging is, why it matters, and how you can prevent your audio from clipping and distorting, leading to cleaner, more professional-sounding recordings.
What Is Gain Staging?
At its core, gain staging is all about managing the volume levels at different points in the signal chain to avoid introducing unwanted noise or distortion. Think of it as setting the “sweet spot” for your audio, where the signal is strong enough to sound good but not so strong that it clips. Clipping happens when the audio signal becomes too loud, causing it to exceed the system’s maximum level, which results in harsh, unpleasant distortion.
Whether you’re working with live sound, recording in a studio, or mixing tracks on your computer, proper gain staging is essential. It helps ensure that every piece of equipment and every stage of the signal chain—whether it’s a microphone, audio interface, or digital workstation—works at its optimal level. This not only improves sound quality but also makes your life easier when it comes to mixing and mastering.
Why Does Gain Staging Matter?
The main reason gain staging is so important is that it sets you up for a smoother production process. When your gain is properly staged, it reduces the risk of clipping and distortion, which can ruin an otherwise great recording or mix. It also allows your compressors, EQs, and other effects to work more efficiently because At its core, gain staging is all about managing the volume levels at different points in the signal chain to avoid introducing unwanted noise or distortion. Think of it as setting the “sweet spot” for your audio, where the signal is strong enough to sound good but not so strong that it clips. Clipping happens when the audio signal becomes too loud, causing it to exceed the system’s maximum level, which results in harsh, unpleasant distortion.
Whether you’re working with live sound, recording in a studio, or mixing tracks on your computer, proper gain staging is essential. It helps ensure that every piece of equipment and every stage of the signal chain—whether it’s a microphone, audio interface, or digital workstation—works at its optimal level. This not only improves sound quality but also makes your life easier when it comes to mixing and mastering. Think of it like plumbing: if you have too much pressure in the pipes, you’re going to end up with leaks or burst pipes. If you have read my post on Gain vs Volume this analogy is familiar. If not, definitely check it out!
Avoiding Clipping and Distortion
Clipping occurs when your audio signal exceeds the maximum level that your system can handle. This leads to the unpleasant, crunchy sound of distortion. To avoid this, follow these simple steps:
1. Start at the Source
Your sound quality starts with the very first piece of equipment in your signal chain. Whether you’re recording vocals, guitar, or a drum kit, make sure your microphone or instrument’s level is appropriate. This is the first step in proper gain staging, and if you get it wrong here, it can throw off the rest of your recording.
2. Set Your Preamp Level Correctly
A preamp is the first place where you can really start to control your gain. It amplifies the signal from a microphone or instrument to a level that’s suitable for recording or further processing. Too little gain at this stage will make your recording sound weak and noisy, while too much gain will lead to clipping and distortion. If you need clarity on preamps and what they do, read this article here
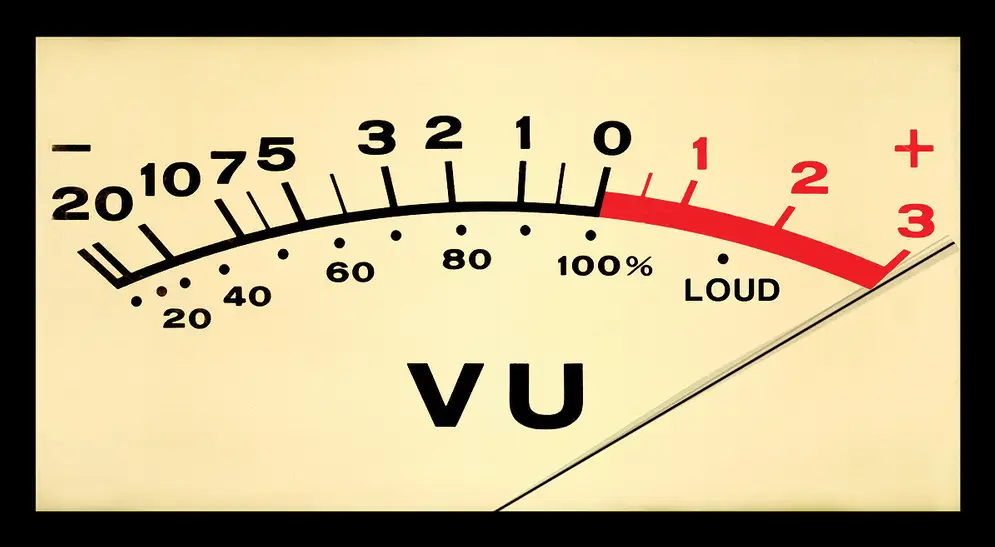
3. Watch Your Meters
Your digital audio workstation (DAW) and audio interface will have meters that show the level of your audio signal. These meters are your best friend when it comes to avoiding clipping. Aim to keep your levels in the green zone, and avoid going into the red, as this is where clipping occurs. Some meters even have a yellow zone, which indicates you’re getting close to the limit—so proceed with caution!
4. Use Attenuation When Needed
If you’re working with signals that are too loud, consider using attenuation or a “pad” function to bring the levels down before they hit your DAW. This reduces the signal level without adding noise, helping you avoid clipping without sacrificing quality.
5. Gain Staging in the DAW
Even once your signal is in your DAW, you’re not done with gain staging. You’ll want to make sure that all the tracks in your project are balanced properly in terms of gain. This means checking each track individually and making sure none are too hot or too quiet.
Most DAWs have built-in tools for adjusting gain, and many plugins also have gain controls. Remember that some plugins, like compressors or limiters, will affect the overall gain of a track, so be sure to check your levels after applying any effects. Dont worry, of course I have a post going over compressors 🙂
6. Keep an Eye on the Master Output
It’s easy to focus on individual tracks and forget about the big picture, but your master output level is just as important. If your mix as a whole is too loud, it can lead to clipping at the final output stage. Make sure your master fader stays within a healthy range to avoid any last-minute surprises when you export your project.
Common Mistakes in Gain Staging
Even seasoned producers can make mistakes when it comes to gain staging. Here are a few common pitfalls to avoid:
- Ignoring clipping indicators: Red lights are a clear sign that something’s wrong. If your meters are flashing red, it’s time to lower your gain.
- Setting gain too low: While high gain can cause clipping, setting it too low can introduce noise and make your tracks harder to mix.
- Not compensating for effects: Many effects, especially compressors and limiters, alter the gain of a track. Be sure to adjust the output level accordingly after applying these effects. I also have a YouTube video you can view here going over compression.
Wrapping Up: Why Gain Staging Is Key to Great Sound
Mastering gain staging is crucial for anyone serious about music production. By paying attention to your signal levels from start to finish, you can avoid clipping and distortion while ensuring a clean, professional mix. Remember to keep an eye on your meters, set your preamps correctly, and double-check your levels after applying effects. With proper gain staging, you’ll be well on your way to achieving better-sounding recordings.
So the next time you’re working on a track, think about your gain staging as laying the groundwork for success. It might seem like a small detail, but it can make all the difference in the final sound of your music.
Hello.
Good cheer to all on this beautiful day!!!!!
Good luck 🙂
Hello!
Good cheer to all on this beautiful day!!!!!
Good luck 🙂